Trezor.io/start | Getting Started | TreZor® (official)
Trezor.io/Start – Your Simple Guide to Getting Started With Trezor
Setting up your Trezor hardware wallet is the first step toward taking full control of your digital assets. Trezor devices are designed to make crypto security accessible, even if you’re new to the world of digital wallets. This guide will walk you through what to expect when you visit Trezor.io/start, how the setup process works, and the best practices for keeping your wallet safe.
When you go to Trezor.io/start, you’re guided to select your Trezor model—such as the Trezor Model One or Trezor Model T. Each device uses the same core setup flow but may include model-specific features. The page ensures you download the official software and avoid harmful third-party links. Using only authentic Trezor tools is essential for protecting your wallet from security threats.
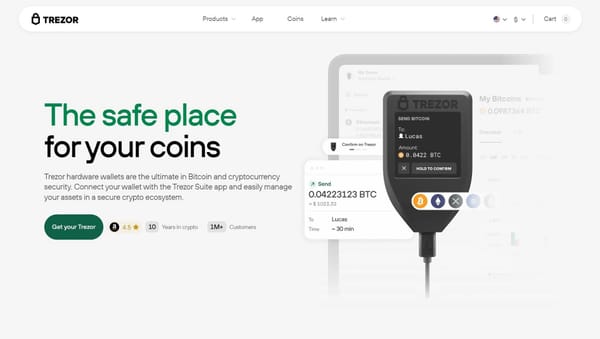
After selecting your model, you’ll be prompted to install Trezor Suite, the desktop and web application that lets you manage your coins, check balances, send and receive crypto, and adjust security settings. Trezor Suite is the recommended interface because it offers secure updates and clear navigation. Once installed, plug your Trezor device into your computer using the cable provided in the box.
During the initial connection, Trezor Suite will check whether your device needs a firmware update. Keeping firmware current is a key part of staying safe, since updates often include new protections or improvements. Follow the on-screen instructions to complete any updates before continuing.
Next, you’ll choose between creating a new wallet or recovering an existing one. If this is your first time using Trezor, select “Create New Wallet.” The device will then generate a recovery seed, which is typically a list of 12, 18, or 24 words. This seed is the most important part of your wallet—anyone who has it can access your cryptocurrency. Write it down on paper and store it somewhere safe and private. Never save it digitally or share it online, and never type it into websites or apps claiming they need it.
With your wallet created, Trezor Suite will guide you through setting a strong PIN. The PIN prevents unauthorized access if someone physically gets your device. Choose a number that’s hard to guess but easy for you to remember.
Once setup is complete, you can add the cryptocurrencies you want to manage. Trezor Suite supports a wide range of digital assets and makes it easy to switch between accounts. Sending or receiving crypto is straightforward—just follow the instructions inside the app.
Finally, Trezor.io/start also provides helpful troubleshooting tips, security reminders, and links to official support. If you ever have questions about your device, stick to official Trezor channels to avoid scams or misinformation.
By following the steps on Trezor.io/start, you’re establishing a secure foundation for managing your digital assets with confidence. Your Trezor device gives you true ownership, and taking time to set it up properly ensures long-term safety and peace of mind.