Trezor.io/start | Getting Started | TreZor® (official)
Welcome to Trezor.io/start – Your Official Guide to Setting Up a Trezor Hardware Wallet
Trezor.io/start is the trusted starting point for anyone setting up a Trezor hardware wallet for the first time. Whether you’re using a Trezor Model One or a Trezor Model T, this guide helps you get your device ready, secure your recovery information, and begin managing your digital assets safely. Trezor wallets are designed to give you full control over your crypto by keeping your private keys offline, away from online threats. This page will walk you through each essential step, providing clarity and confidence as you set up your device.
1. Unbox Your Trezor Device
Before anything else, check that your Trezor comes with its security seal intact and includes all standard accessories. Authentic Trezor devices should arrive without signs of tampering. Inside the box, you’ll usually find the hardware wallet, a USB cable, recovery seed cards, and instructions. These items will be used during setup, so keep them accessible.
2. Visit the Official Setup Page
To begin, open your browser and type Trezor.io/start. This link redirects you to Trezor’s official setup environment, ensuring you receive legitimate software, accurate instructions, and the latest updates. It’s important to rely only on the official site; avoid third-party links to protect yourself from scams or modified software.
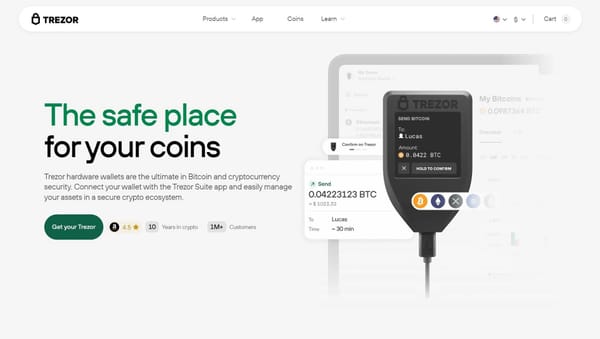
3. Install Trezor Suite
The setup page will guide you to download Trezor Suite, the all-in-one desktop application for managing your wallet. Trezor Suite is available for Windows, macOS, and Linux. It provides a secure interface for sending and receiving crypto, checking balances, and adjusting security settings. After downloading, follow the prompts to install and open the application.
4. Connect Your Device
Plug your Trezor into your computer using the included cable. Trezor Suite will automatically detect the device and guide you through initialization. If a firmware update is required, follow the on-screen instructions. Updating firmware ensures the device runs the most secure and stable version available.
5. Create a New Wallet
Once the device is up to date, select “Create Wallet.” Trezor Suite will then help you generate a recovery seed—a set of words that acts as the backup for your wallet. This is one of the most important parts of setup. Write the seed down on the provided recovery card and store it somewhere safe and private. Never take a photo of it or save it online.
6. Personalize Your Security
Next, you’ll set up a PIN code. This PIN protects your Trezor if someone physically tries to access it. Choose a PIN that is easy for you to remember but difficult for others to guess. Trezor Suite may also offer additional security options, such as passphrase protection, depending on your needs.
7. Start Managing Your Crypto
After completing setup, you can add accounts, receive funds, and explore the features of Trezor Suite. The interface is simple, transparent, and designed to help you stay in control of your digital assets at all times.
Trezor.io/start ensures your hardware wallet setup is safe, smooth, and reliable. Begin with confidence knowing your crypto is protected by industry-leading security.